Discovery Astrophotography with ZWO ASTRO

Description
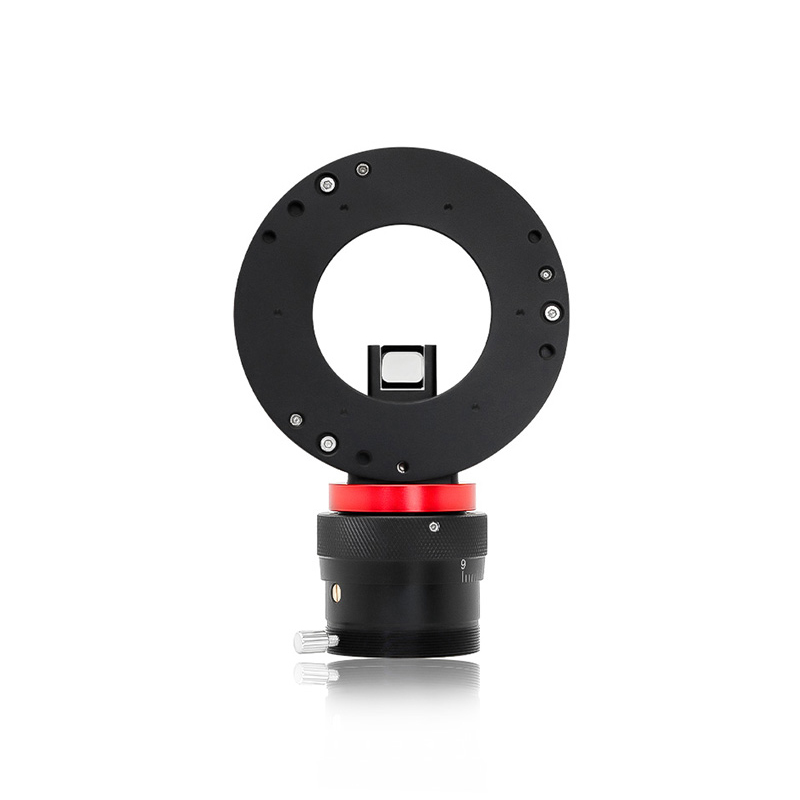
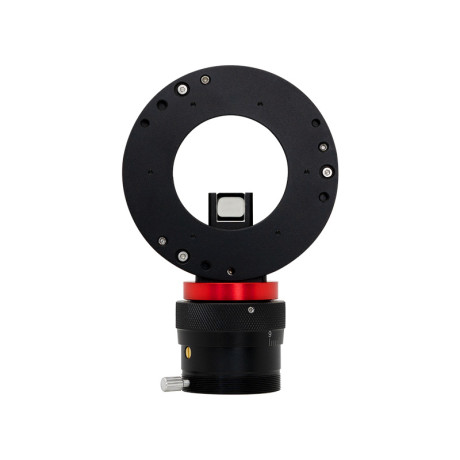
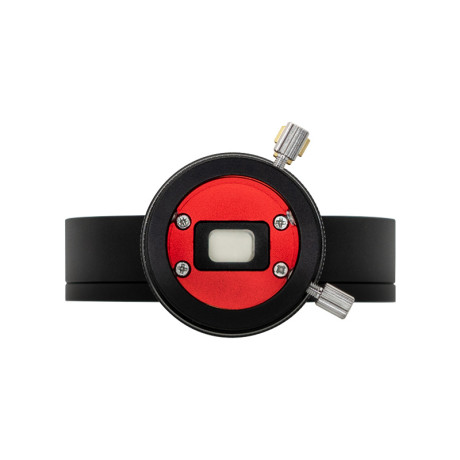
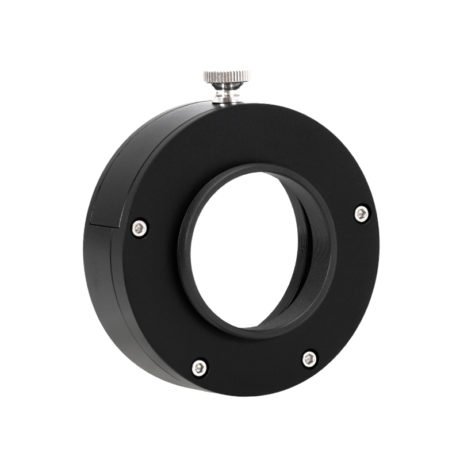
OAG-L has a large prism size of 12*12mm, far bigger than M68 OAG. The bigger clear aperture brings wider field of view in guiding. It is easy to use, and suitable for users who are interested in long focal length photography.
To take the most advantage of it, we recommend you to match it with large format guiding cameras.
Features
- Lightweight and exquisite, 17.5mm thickness.
- Prism size: 12*12mm.
- The effective light-passing aperture is 11.7mm*8.3mm.
- Can be used to connect the main camera and guide camera simultaneously. No guide telescope required.
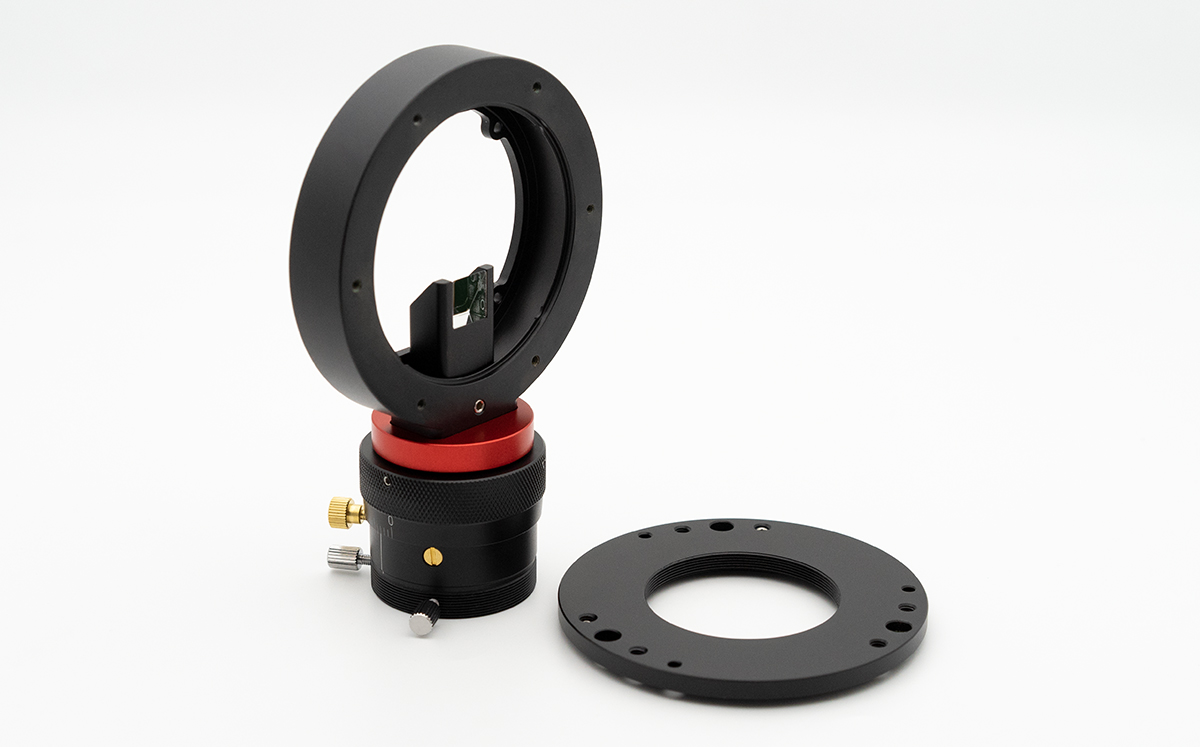
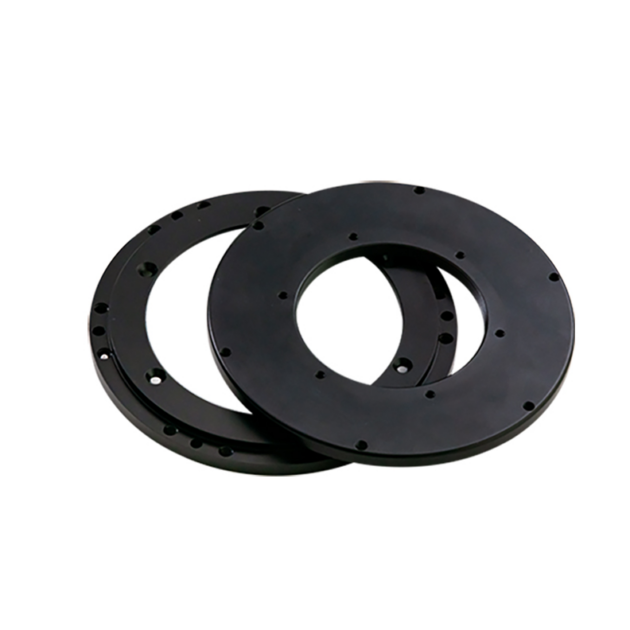
- Packaged with an M48 sensor tilt plate (5mm).
Operating Guide
- For guiding, OAG-L can only work with ASI Mini cameras like ASI174MM Mini, ASI290MM Mini and ASI120MM Mini.
- Considering the large prism size, we don’t recommend you use OAG-L with telescopes whose clear aperture is smaller than M48.
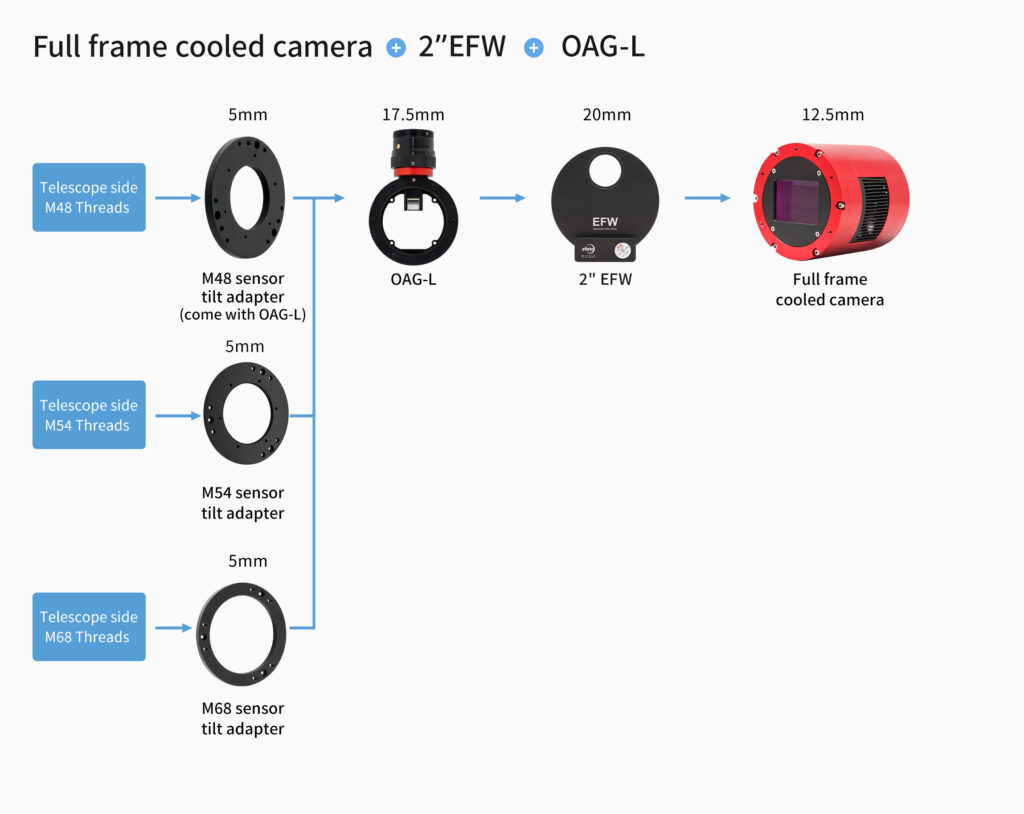
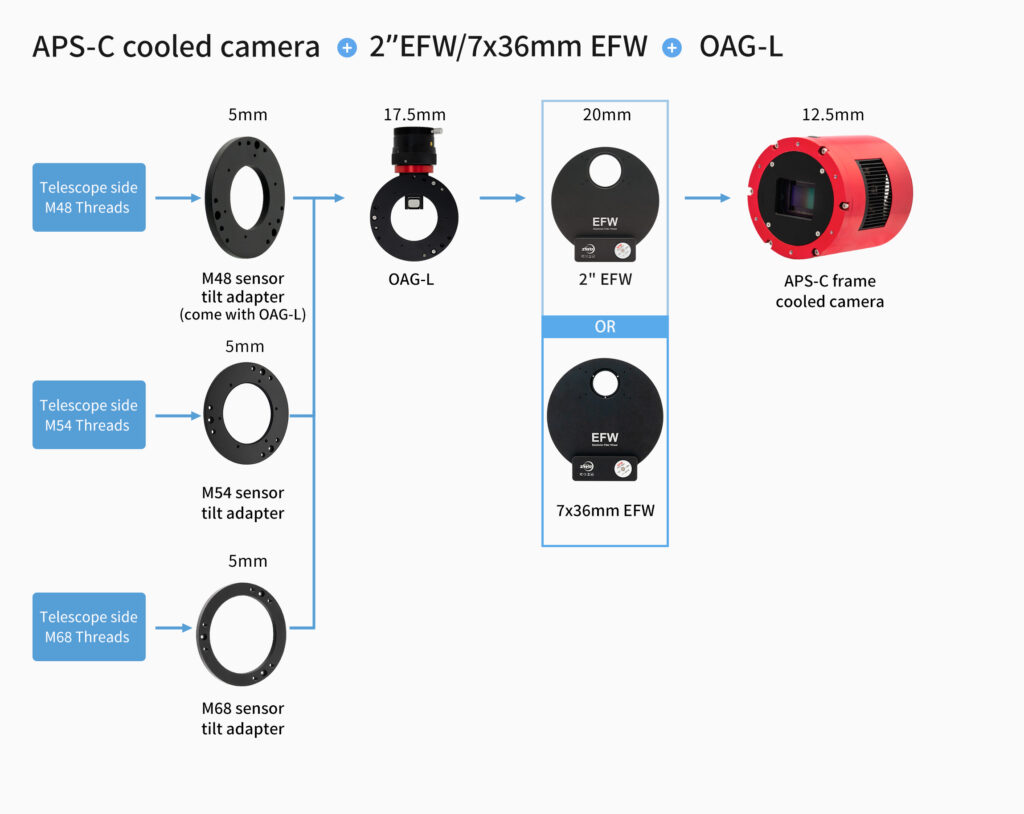
- Yet it is recommended to use with 2” EFW or 7x36mm EFW, and with APS-C cameras (ASI2600) or full-frame cameras (ASI6200/2400). The large clear aperture supports full-frame cameras without vignetting.
- The major differences between OAG-L and M68 OAG are about the prism size and the threads. OAG-L removed the inner threads so you can directly use the screws to connect it to other equipment.
- If the thread of your telescope side is M48, then you don’t need to remove the M48 sensor tilt plate coming with OAG-L. On the contrary, you need to remove it and use some other sensor tilt plate at the corresponding thread of your telescope.
- While adding OAG-L into your optical train, please make sure the prism won’t block the camera sensor.
- You can use the guiding screw to adjust the guiding camera’s focus length. Please make sure the distances from the prism to the main camera and to the guide camera are the same. To ensure the result, it is better to do this during the daytime for the adjustment will be very difficult at night.
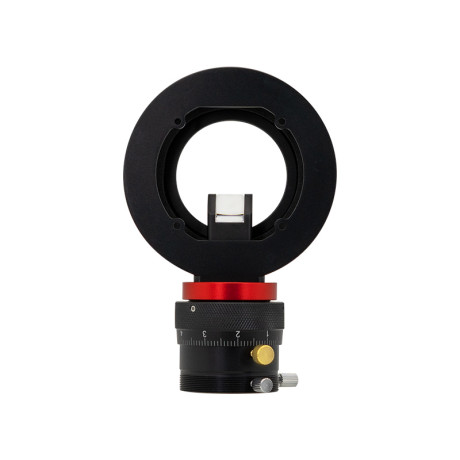
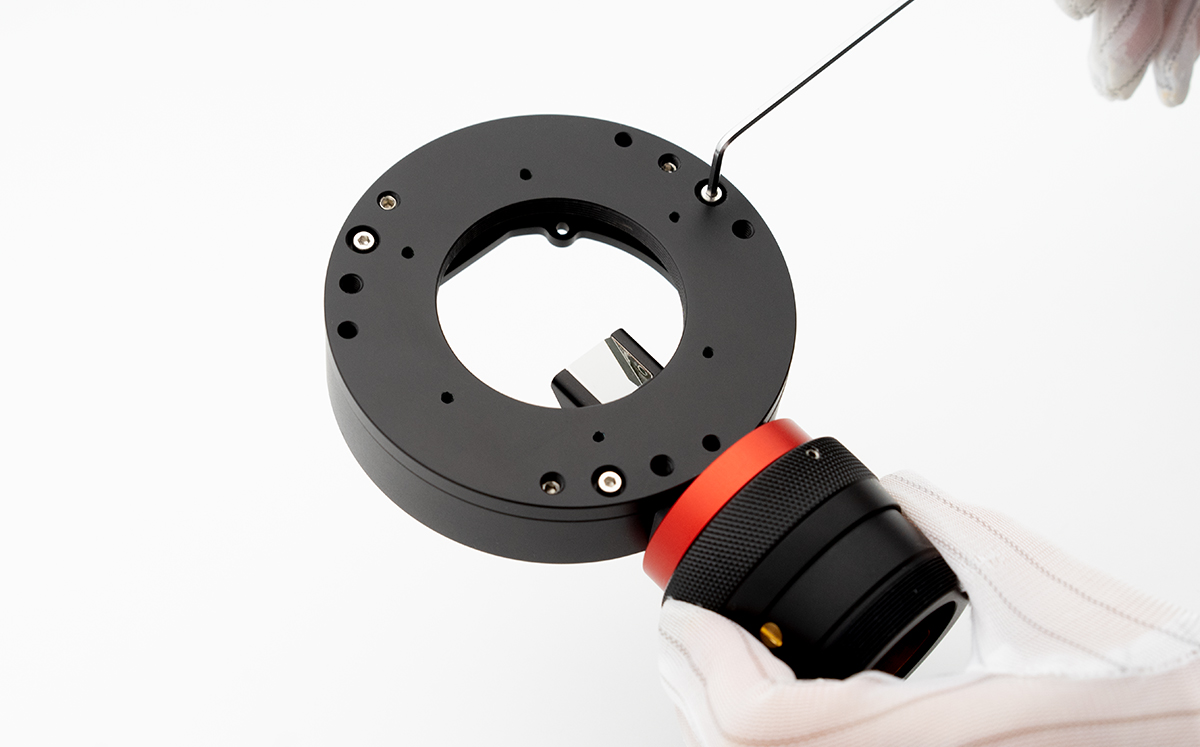
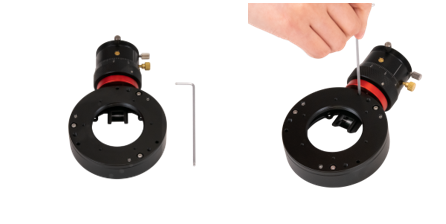
The pictures below show how to remove the sensor tilt plate
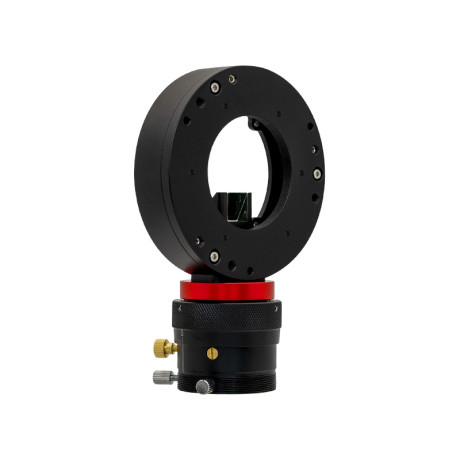
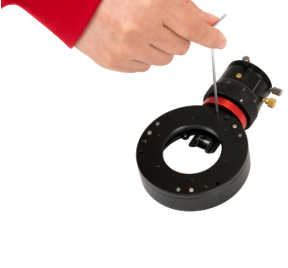
How to adjust the position of the prism of OAG-L?
1. Use an M2 hex wrench to anticlockwise loosen the M4 screw in the through hole of the sensor tilt plate
2. Pinch the prism on both sides and then pull it to the proper position.

3. Then re-tighten the M4 screw with the M2 hex wrench.
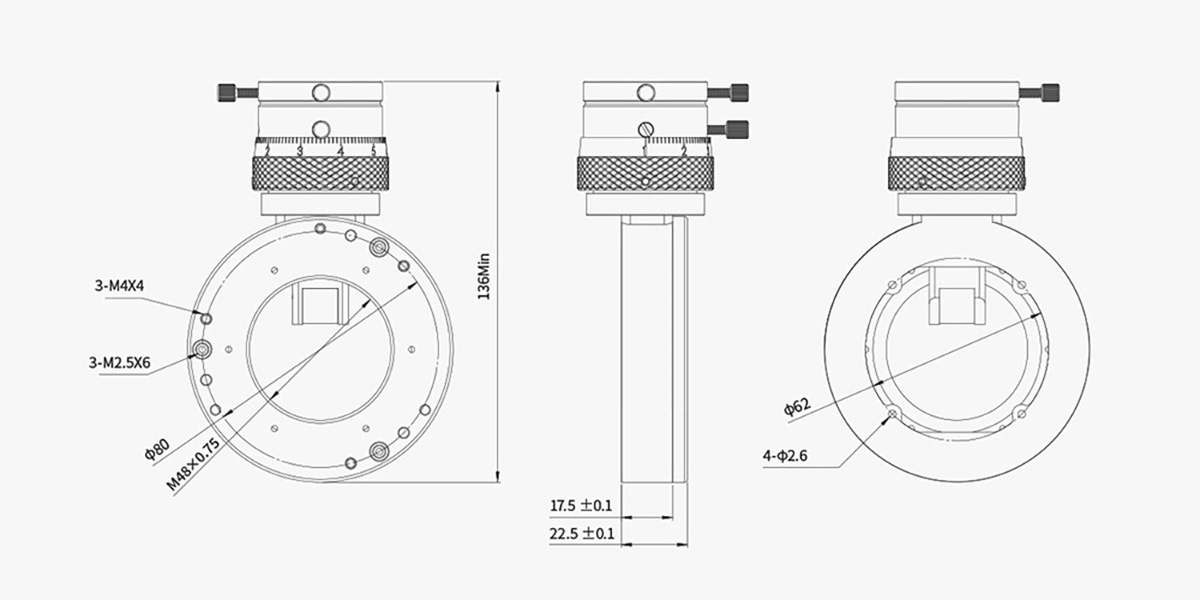
OAG-L Mechanical Diagram
OAG-L Connection Methods
You may find the M54 and M68 sensor tilt plates on the ZWO website.
Please Note
While adding OAG-L into your optical train, please make sure the prism won’t block the camera sensor.
You can use the guiding screw to adjust the guiding camera’s focus length. Please make sure the distance from the prism to the main camera and to the guide camera are the same. To ensure the result, it is better to do this at daytime for the adjustment will be very difficult at night.
Reviews
There are no reviews yet.