

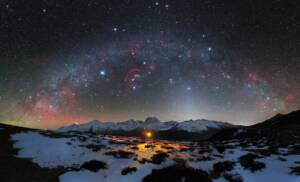
Discovery of the M31 [OIII] emission arc
Recently, a major discovery by an international team of amateur astronomers and scientists has become a huge online hit, and this new discovery is just located in one of the
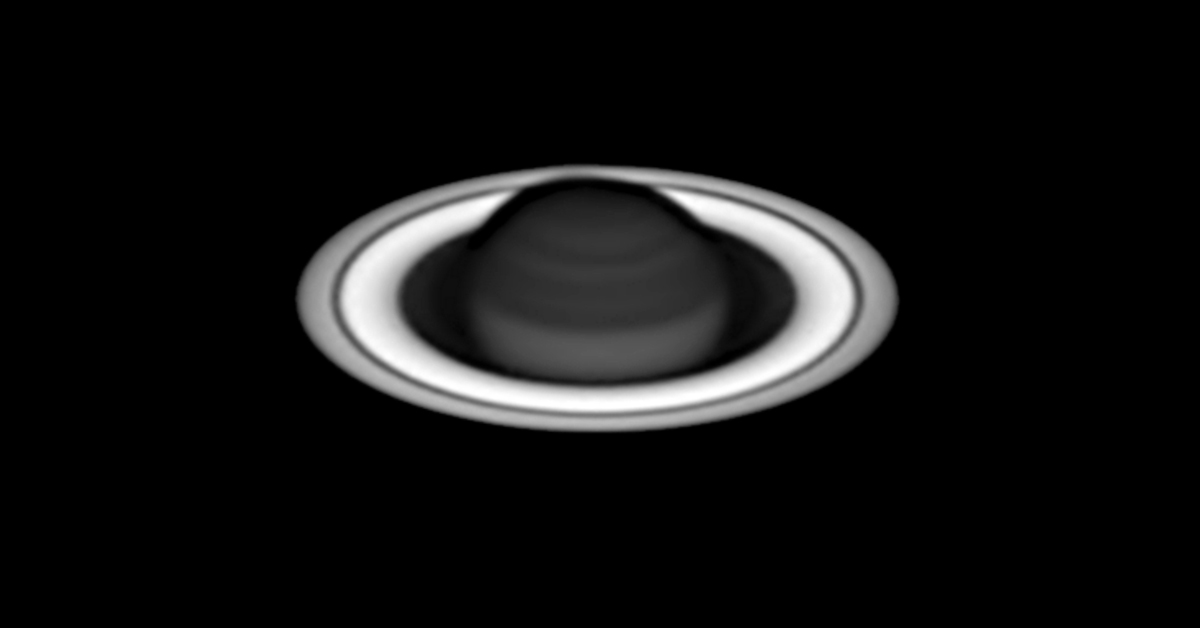
In the Insight Investment Astronomy Photographer of the year, Martin Lewis’s work Black Saturn won the Highly-commended prize in the Comets, Planets and Asteroids section. This is the second time this man’s name showed up on the prizewinner’s list. The first time, he was the winner of the section. Congratulations on this great astrophotographer!
Here we made an interview again with Martin, hoping him tell us the story behind the stunning work Black Saturn and share some valuable experiences on how to capture planets with CH4 filters.
You may also click here to see the first interview with Martin.
Q1: Hi Martin. Congratulations that you were a prizewinner in The Insight Investment Astronomy Photographer of the Year again! Remember that last year we asked you if you have the confidence to win the next round? You said that “I think I spent my luck this year“. And look what you just achieved! You really did a great job! May I ask what‘s your feeling about that?
Indeed, getting first and second place in the Planets section of the competition last year was a wonderful achievement for me and unlikely to be equaled. This year I was delighted to get third prize- being placed just behind renowned planetary imagers Andy Casely and Damian Peach.
Getting award-winning images of the planets, like my image Black Saturn, relies on a big amount of luck, as it is so dependent on what’s in the sky that year- the opportunities presented as well as how the skies cooperate- especially the steadiness of the atmosphere and how often it is clear.
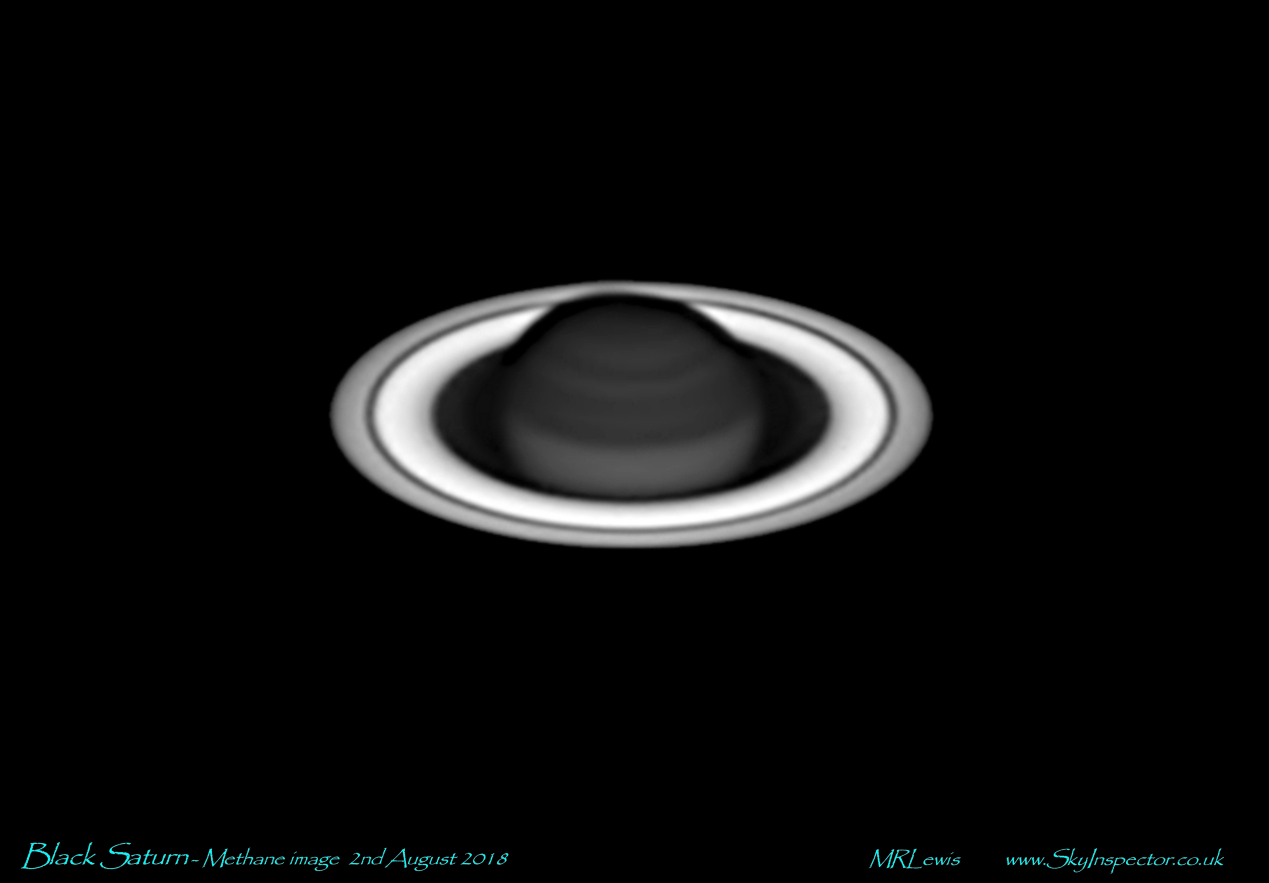
Black Saturn- Highly Commended in the Insight Investment Astronomy Photographer of the Year 2019
Q2: How did that come into your mind that you should use the CH4 filter to captured Saturn? What kind of work do you want to make at first?
I had used the excellent value ZWO CH4 filter for imaging Jupiter previously and occasionally got some good details- such as that seen in the image below.

Although quite a few people are regularly producing methane images of Jupiter, I had never seen anyone produce a methane image of Saturn. The planet is so dim that even at high gain, exposure times have to be pretty long- leading to smearing by atmospheric turbulence and making it much harder than with Jupiter to capture disc detail. My first attempts were badly affected by atmospheric smearing and showed the ring but no features on the disc.
Last year I thought I would try again and picked a particularly steady night. The decision paid off and I produced a methane Saturn image with clear banding structure on the planet’s disc and nice ring structure. To be honest I wasn’t sure even that was detailed enough for the judges and had second thoughts about entering it into the competition. I very was glad I did though!
Q3: There must be some challenges when you were shooting, can you tell us how did you work through them? Maybe share with us some detailed camera settings?
Yes, the biggest difficulty with methane imaging is the lack of light. Methane is absorbing when viewed in the bandpass of the filter (880nm to 900nm) so if there is a lot of methane around then there isn’t much light. In addition, the sensitivity of the camera is dropping off at these wavelengths. To stand a chance of getting good images you need to drop the f-ratio of your telescope, if you can, to increase the planet’s surface brightness, turn the gain right up and then pick an exposure time so that the planet brightest parts are about 80% of saturation. Each frame will be very noisy but you can overcome that by taking a lot of images and stacking them. You can also use Winjupos Derotate Images to add images together without suffering issues with rotational smearing due to the planet’s fast rotation. The ZWO ASI290MM camera is great mono camera for methane imaging due to its high sensitivity, especially in the infra red, and particularly because of its low levels of read noise. This means you can run the camera at very high gain and correspondingly shorter exposures, without getting into read noise difficulties in the final image- such as noisy rows or columns.
For Black Saturn I used the ZWO ASI290MM camera at f11.8 on my 444mm Newtonian telescope at a gain of 550 (=562x) and an exposure time of 32msecs. I ended up stacking 50% of the original 13.8k frames in total.
One tip that reader’s might like to use when methane imaging is to focus with a Baader red filter (610nm longpass) at lower gain then swap back to using the ZWO CH4 filter at higher gain. The thicknesses of the glass in the two filters are very similar at just over 2.0mm thick, so the focus shouldn’t change when swapping between the two. Saturn then will be much brighter and less affected by shot noise with the red filter allowing you to focus more accurately. You can also use the Baader 685nm filter which is also the same thickness.
Q4: Is there anything we can learn from the image processing?
The image processing was fairly straightforward using Autostakkert!3 to do the quality sort and stack but with a noise robust (NR) value of 8 due to the high noisiness of the individual frames.
Q5: What other planets will you recommend to capture with CH4 filters?
Just Jupiter and Saturn will show structure. It would be great to use it on the Ice Giants like Uranus and Neptune but exposure times would be ridiculously long.
Q6: The Grace of Venus, the one which won the competition last year, and your wining work Black Saturn this year, they are both fantastic! What different feelings do you have with these 2 works?
Both are monochrome images and their impact relies a lot on the balance between the subject and the shape and size of the black space surrounding them- I spent a lot of time on that aspect of the composition.
I guess both actually touch some primal appreciation of perfect geometry we all have- whether it is a perfect crescent or a perfect ellipse. I think there is some existential shiver we get with some astronomical images and I hope they both induce that feeling in some of your readers.
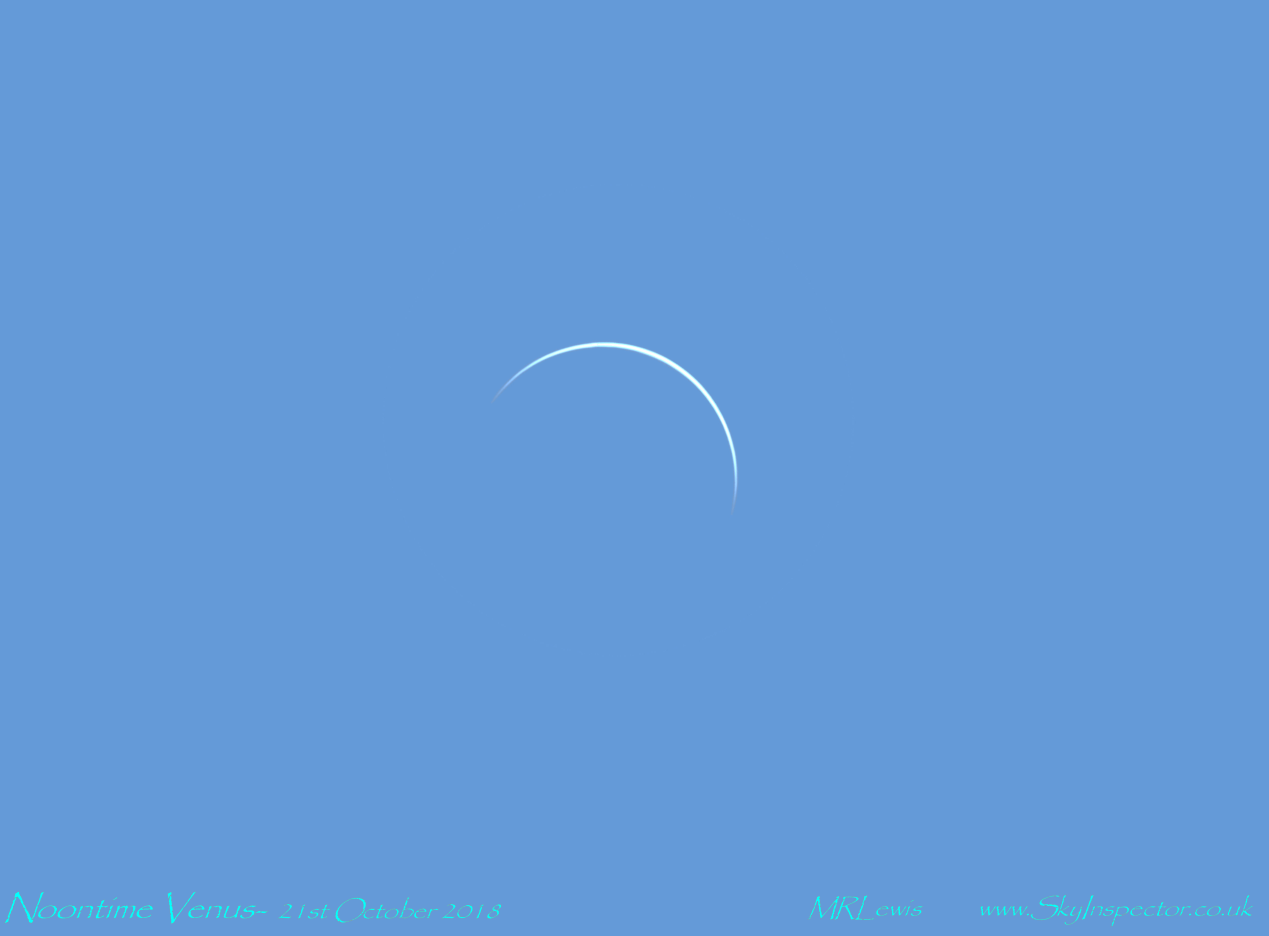
Q7: We see your work Noontime Venus is also listed in “Planets, Comets and Asteroids”. When did you take this picture and how long is the interval between it and The Grace of Venus? Do you think you have advanced your skills in imaging Venus this time?
Noontime Venus was an attempt to reproduce the amazing view I saw through the eyepiece one October day when looking at Venus. This was just a few days before inferior conjunction and the crescent was incredibly thin, with a phase of only 1.7%- the thinnest Venus I had ever seen.
In the 19 months after taking the Grace of Venus I had been doing a lot of Mercury imaging and to see any surface detail you really need to do this in full daylight when Mercury is much higher in the sky. Noontime Venus used some of the skills developed for daytime Mercury imaging and was taken around midday with the planet much higher in the sky than the Grace of Venus. That helped to keep the crescent crisp even though it was significantly thinner. As it was so close to inferior conjunction and close to the Sun I think it would have been impossible to image decently in the evening as it would have been so low at sunset.
The day I imaged the crescent it was a beautiful crisp Autumn day and I blended the IR image of the planet with the lovely light blue from a colour photo taken at the same time to produce a composite image mimicking the wonderful eyepiece view.
Q8: We also noticed that you use DIY equipment for both the 2 works. We are very interested! Can you show us some pictures of them and simply describe how did you build them?
Black Saturn was taken with my home-built 444mm Dobsonian I call Fossil Light. This is mounted on my home-built equatorial platform for planetary imaging. The Noontime Venus image used the same equatorial platform but my 222mm Dobsonian which I call Mr. Orb Inspector.
Building your own equipment saves money but also allows you to build things just the way you want them it also makes it easier to upgrade and improve later.
Fossil Light was a labour of love and took a total of 3,000 hours to build over 3 years. The mirror is made by a UK optician Jon Owen but later refigured by master optical engineer Es Reid. Mr Orb Inspector was much quicker to make and uses optics from master mirror maker David Hinds.

Me with my home-built 444mm Dobsonian ‘Fossil Light’- built 26 years ago but still going strong!

My home-built 222mm Dobsonian and home-built equatorial platform
My equatorial platform has been extensively improved to reduce motor vibration which is disastrous for hi-resolution planetary imaging. It uses a vinyl record turntable synchronous motor running at 40% of the recommended voltage and the motor is mounted on vibration damping pads and connected to the gear drive with a rubber micro-toothed belt to further deaden vibration. It works really well for planetary imaging and is so simple to use.
Q9: OK one last question. May I ask what shooting plan do you have for your next object? Anything innovative or challenging? Cause we are definitely looking forward to seeing it!
My big ambition is to image the rings of Uranus which is an incredibly difficult target. It may just be possible in my size of telescope if I get a really steady and transparent night. I am cleaning my mirror set next week to reduce scatter in readiness as the season of imaging the Ice Giants is upon us again. I will be sure to let you know if I succeed!
Recently, a major discovery by an international team of amateur astronomers and scientists has become a huge online hit, and this new discovery is just located in one of the
Tracy Cao is a 45-year-old stay-at-home mom based in Pleasanton, California, who discovered her passion for astrophotography in the summer of 2021. Although she is relatively new to the industry,
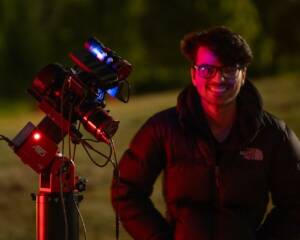
“My Name is Willie Stickley (@WillieHustles) and I am a 26 year old photographer and videographer from Cleveland, Ohio (United States) and I am the current Vice President of the
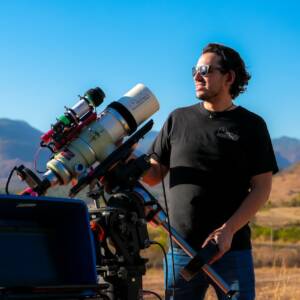
Guillermo Cervantes Mosqueda is an astrophotographer lives in Poncitlán, Jalisco, Mexico, whose fascination with the night sky began with astronomy books in his childhood. His journey officially took flight in
Being an astrophotographer is the most romantic job in the world. But behind that romance lies a canvas of isolation and peril.From standing helpless and alone at the Baima Snow
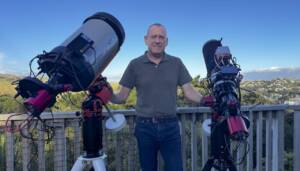
Peter Ambrose lives in Porirua, Wellington, New Zealand, after moving there from his hometown of Christchurch in 1991. Now retired from corporate life for over 13 years, he has been